[FINISHED] Easter Wreath

FF7998D9-6613-4001-B044-9A62F6DC0ED9.jpeg

And I have once again dabbled in a craft I have no business dabbling in.

A few weekends ago, I sat down with all my supplies from Amazon and put together this festive Easter migraine. Originally, I’d wanted to make one of those bunny butt wreaths that are popular right now, but the butts alone were nearly $50 and the wreaths themselves sell for $150+ on Etsy. So I improvised.

This time, I used a different technique where I rolled strips of four colors and scrunched them together using pipe cleaners (pro tip: pipe cleaners are so much easier than the zip ties I used on my first wreath).

It’s worth noting that you can get most of these supplies at the Dollar Store, but I’m incapable of thinking ahead that far and spent way more than I should have by going through Amazon. The only great thing about that is I discovered the deco mesh is available in packs of every holiday color coordination you can imagine, so you can bet your life that I’ll be making one of these for every holiday. Scott is thrilled that I’ve been discussing wreath storage for the basement.

Here’s the YouTube tutorial I used to make this monstrosity that doesn’t even fit between our main door and screen door. I ended up displaying it on my buffet that I’ve redecorated for spring, at least until I can find a better place to house it.

Untitled design.png

[FINISHED] Buffalo Plaid Ribbon Wreath

Please ignore the heinous raw color of our front door. We’ll be painting it a lovely colonial blue once Mother Nature stops snowing her feelings all over the Lehigh Valley.

Please ignore the heinous raw color of our front door. We’ll be painting it a lovely colonial blue once Mother Nature stops snowing her feelings all over the Lehigh Valley.

Me: Woe betide the person who shares another Pinterest project that’ll make me spend more money on hobbies I don’t have time for

Also me: Oh look, wreaths!

Yes, that’s right. After more mindless scrolling of Pinterest and referencing YouTube videos, I made my first ribbon wreath.

Is it the most amazing or beautiful wreath anyone’s ever made? Absolutely not. But I have to admit I had a lot of fun making it to specifically match our soon-to-be-revamped front porch decor. I enjoyed it so much that I immediately spent like $50 on new supplies to make what I can only assume will be a decorative migraine of an Easter wreath - it’s going to be nuts.

More importantly, this wreath became a huge source of debate on my Facebook - to add or not add a bow? Opinions varied wildly, but ultimately I was convinced I needed to add something, which is where the pink flowers came in. I thought incorporating an organic flare would contrast nicely with the burlap and super stark plaid, but I didn’t want flowers that looked fake and tacky. That’s how I ended up with these tiny pink sprigs that I love love love. There should be more, but there were only four left in Michael’s and I was accosted by a woman who said she needed them to finish her project (because I was just buying them for shits and giggles, obviously) and I didn’t feel like throwing down in a craft store, so I handed her my fourth bundle. It still looks good, but I wish I had enough to go around the whole wreath.

Products/Resources Used

As usual, the most of the items linked below go to Amazon via an affiliate link because sue me for trying:

Unsolicited Advice

When I eventually make my Easter wreath, I’m going to change up some of my methods.

For example, I used zip ties because that’s what was recommended in one of the YouTube videos I watched; however, the ties I got from Amazon were felt on one side and loops on the other. It kept grabbing and ripping my ribbon (as well as my highly coveted Marketo Champion Under Armour sweats) and it really f’d up my cuticles. I found a few other videos where the designer used pipe cleaners instead, so I bought stock in those and will see how that pans out.

I’m also going to try a different technique where I roll the fabric in long sections instead of 7” at a time with the 2.5” ribbon. I’ll be using wide tulle for the Easter wreath that should allow me to experiment with that, as well as ribbon placement. It’s going to be my greatest failure and I’m excited about it.

Are you team bow?

Let me know if you think there still needs to be a bow on this bad boy or if it’s fine as is. I usually subscribe to a “more is more” mentality, but in this case, I really think it’ll be too over the top - and that says a lot coming from me.

[FINISHED] Hot Chocolate Bombs

ACS_0326.JPG

I’d like to welcome you to my personal Odyssey, a journey on which I hope to never again embark.

Hot chocolate bombs are all the rage this year (in fact, a friend of mine referred to them as the Tickle Me Elmo of 2020). I’m not sure where it started, but I blame Pinterest and Instagram “influencers” who needed something weird to take pictures of the the holidays. I make fun of that stuff… and I’m also a sucker for it. The same way I work in marketing and am attracted to end cap displays in Target like a moth to a flame. I know a winner when I see it.

It goes without saying, then, that I decided to torture myself with making 20+ (yikes) of these for Christmas gifts.

My process was a bit trial and error because I couldn’t find just one tutorial that worked the way I wanted it to. My final product ended up being a mashup of several blogs and still isn’t perfect, but I’m not entirely mad with the results.

If you’re interested in trying these for yourself, here are my tips:

  • The double boiler is your friend. All these recipes are like, “Oh, just use a microwave. It’s fine.” No. It’s easy to burn and hardens too quickly, especially when making bombs in bulk. Invest in a double boiler and get happy. Mine is from Pampered Chef, back in the days when I didn’t know MLMs were evil, but I’m sure other good quality ones exist. I use it way more than I thought I would and your chocolate WILL NOT BURN as long as the water underneath doesn’t boil off. Seriously. INVEST.

  • Use literally any other color than brown for your molds. The only molds that Amazon had left were brown, which posed problems I’m sure you can easily imagine. I had to add more chocolate to plug a few holes more than once.

  • Always put them in the fridge to cool for at least 30 minutes. It makes popping them out of the silicone super easy.

  • When making your bomb, use cupcake wrappers to hold them so the chocolate doesn’t melt in your hands, causing ugly chocolate fingerprints. Keep them in a festive wrapper to prevent them from rolling around, too (form and function, people!)

  • Placing the edges on the a hot plate to melt the chocolate works really well, but don’t go too hog wild with it or else your bombs will be more oval than round.

  • White chocolate is the actual worst, so just don’t

  • You can fit more hot chocolate mix in these than you think

ACS_0346.JPG

Of course, everyone knows the best part of a gift is the presentation, and I’m the type of person to stress myself about wrapping until I cry and throw my back out. Originally, we were going to display these in cute little boxes I bought off Amazon, but we’d also bought mugs to hand out and I had an entire roll of cellophane left over from gift baskets I’d made, so it just sort of happened that I wrapped each bomb individually and handed them out in a coordinating mug. Tie it off with a Tiffany bow and call it a day - I actually had to tell people I’d made them, which is the biggest compliment.

It also helps that I found cute sprinkles from Simply Sucre on Etsy to make them look more Christmasy. You really need to check out what’s offered there just because - you’ll never go back to store-bought sprinkles again. In fact, these sprinkles make commercial brands look downright ugly. They’re cost-effective for being unique and you can choose how much you want to buy, which I thought was great because they won’t sit in my cabinet forgotten about until next holiday season, at which point they’d get thrown in the trash. I’m really trying to cut down on buying too much of things I don’t need (note: this does not apply to Mill Hill holiday-themed cross stitch kits, so don’t @ me when I share everything I bought over the holidays)

Let me know if you’ve tried to make these and if you had any success. Overall, I found them easy to make, although the decorating didn’t really go well because - and I repeat - white chocolate is not worth it, and I didn’t have the immediate success of “gluing” them together like Pinterest promised (I put chocolate in a pastry bag and piped around the edges and added the sprinkles to ensure they stayed together in transit). Still, I’m happy with them and think they’re a fun holiday treat to make for friends and family.

[FINISHED] Lotion Bars with Beeswax

ACS_0316.jpeg

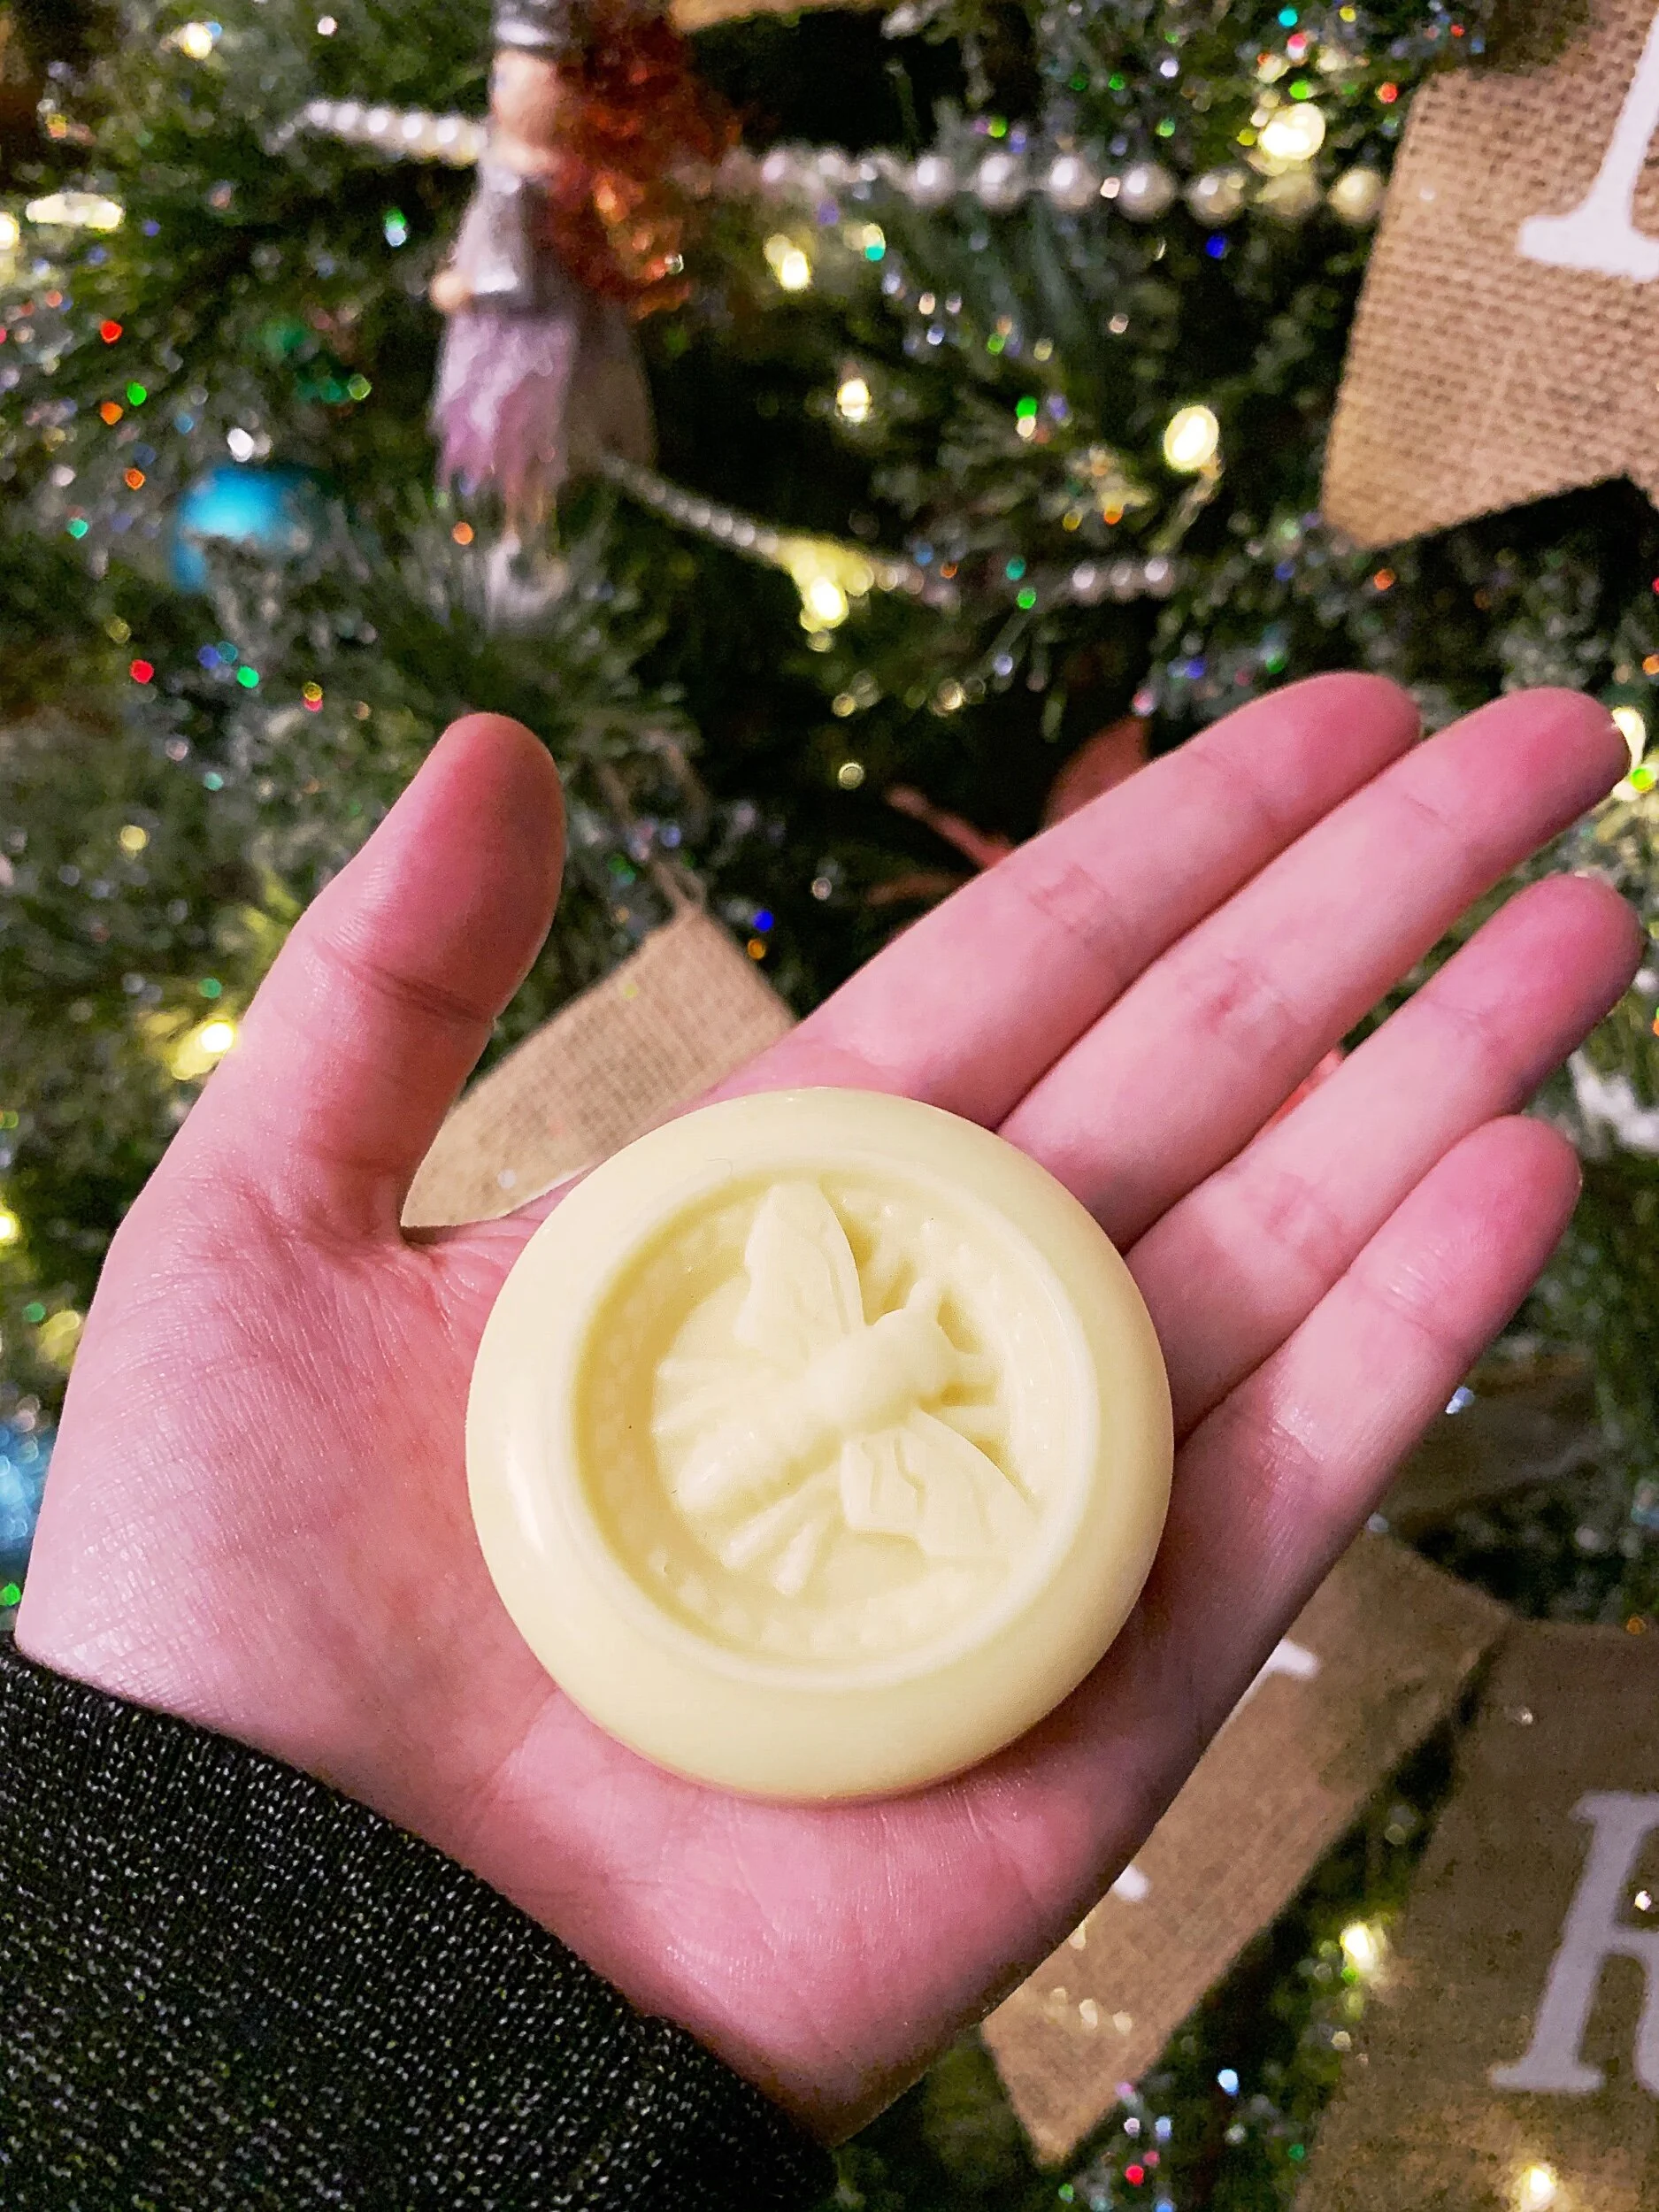
And now, for something completely different, I bring you: handmade lotion bars.

It’s no secret that Pinterest will be my undoing, and yet I continue to browse, torturing myself with ideas that’ll never see the light of day. My yarn stash will long outlast my life expectancy and my cross stitch collection is headed in that direction, as well. My only hope is that someone else can do something with it once Scott dumps me in front of Shady Pines in 30 years.

That’s how I stumbled on a recipe for three-ingredient lotion bars and had the novel idea of making them for Christmas gifts that I can give to our families and my girlfriends. The recipe seemed simple enough and, once distributed across multiple bars for multiple people, a cost-effective way to show someone I care without getting voluntold to knit something.

As usual, I was right. The easy-to-find ingredients are equal parts beeswax, shea butter, and coconut oil (for 12 bars in the molds I used, I needed one cup each).

The recipe (see the “3 Ingredient Lotion Bar” here) recommended putting the filled molds in the fridge if you want them to harden quickly, but I didn’t really care, so I initially ignored this step. While that’s not the worst thing you can do, I don’t recommend skipping this step, and not because it makes the bars cool quickly. I found that, in general, they hardened more evenly and were easier to pop out of the molds than letting them dry all day outside the fridge. I also feel like there’s a less oily feel and they’re more waxy. They’re shinier, too, and overall look more professional if you put them in the fridge to cool.

ACS_0315.jpeg

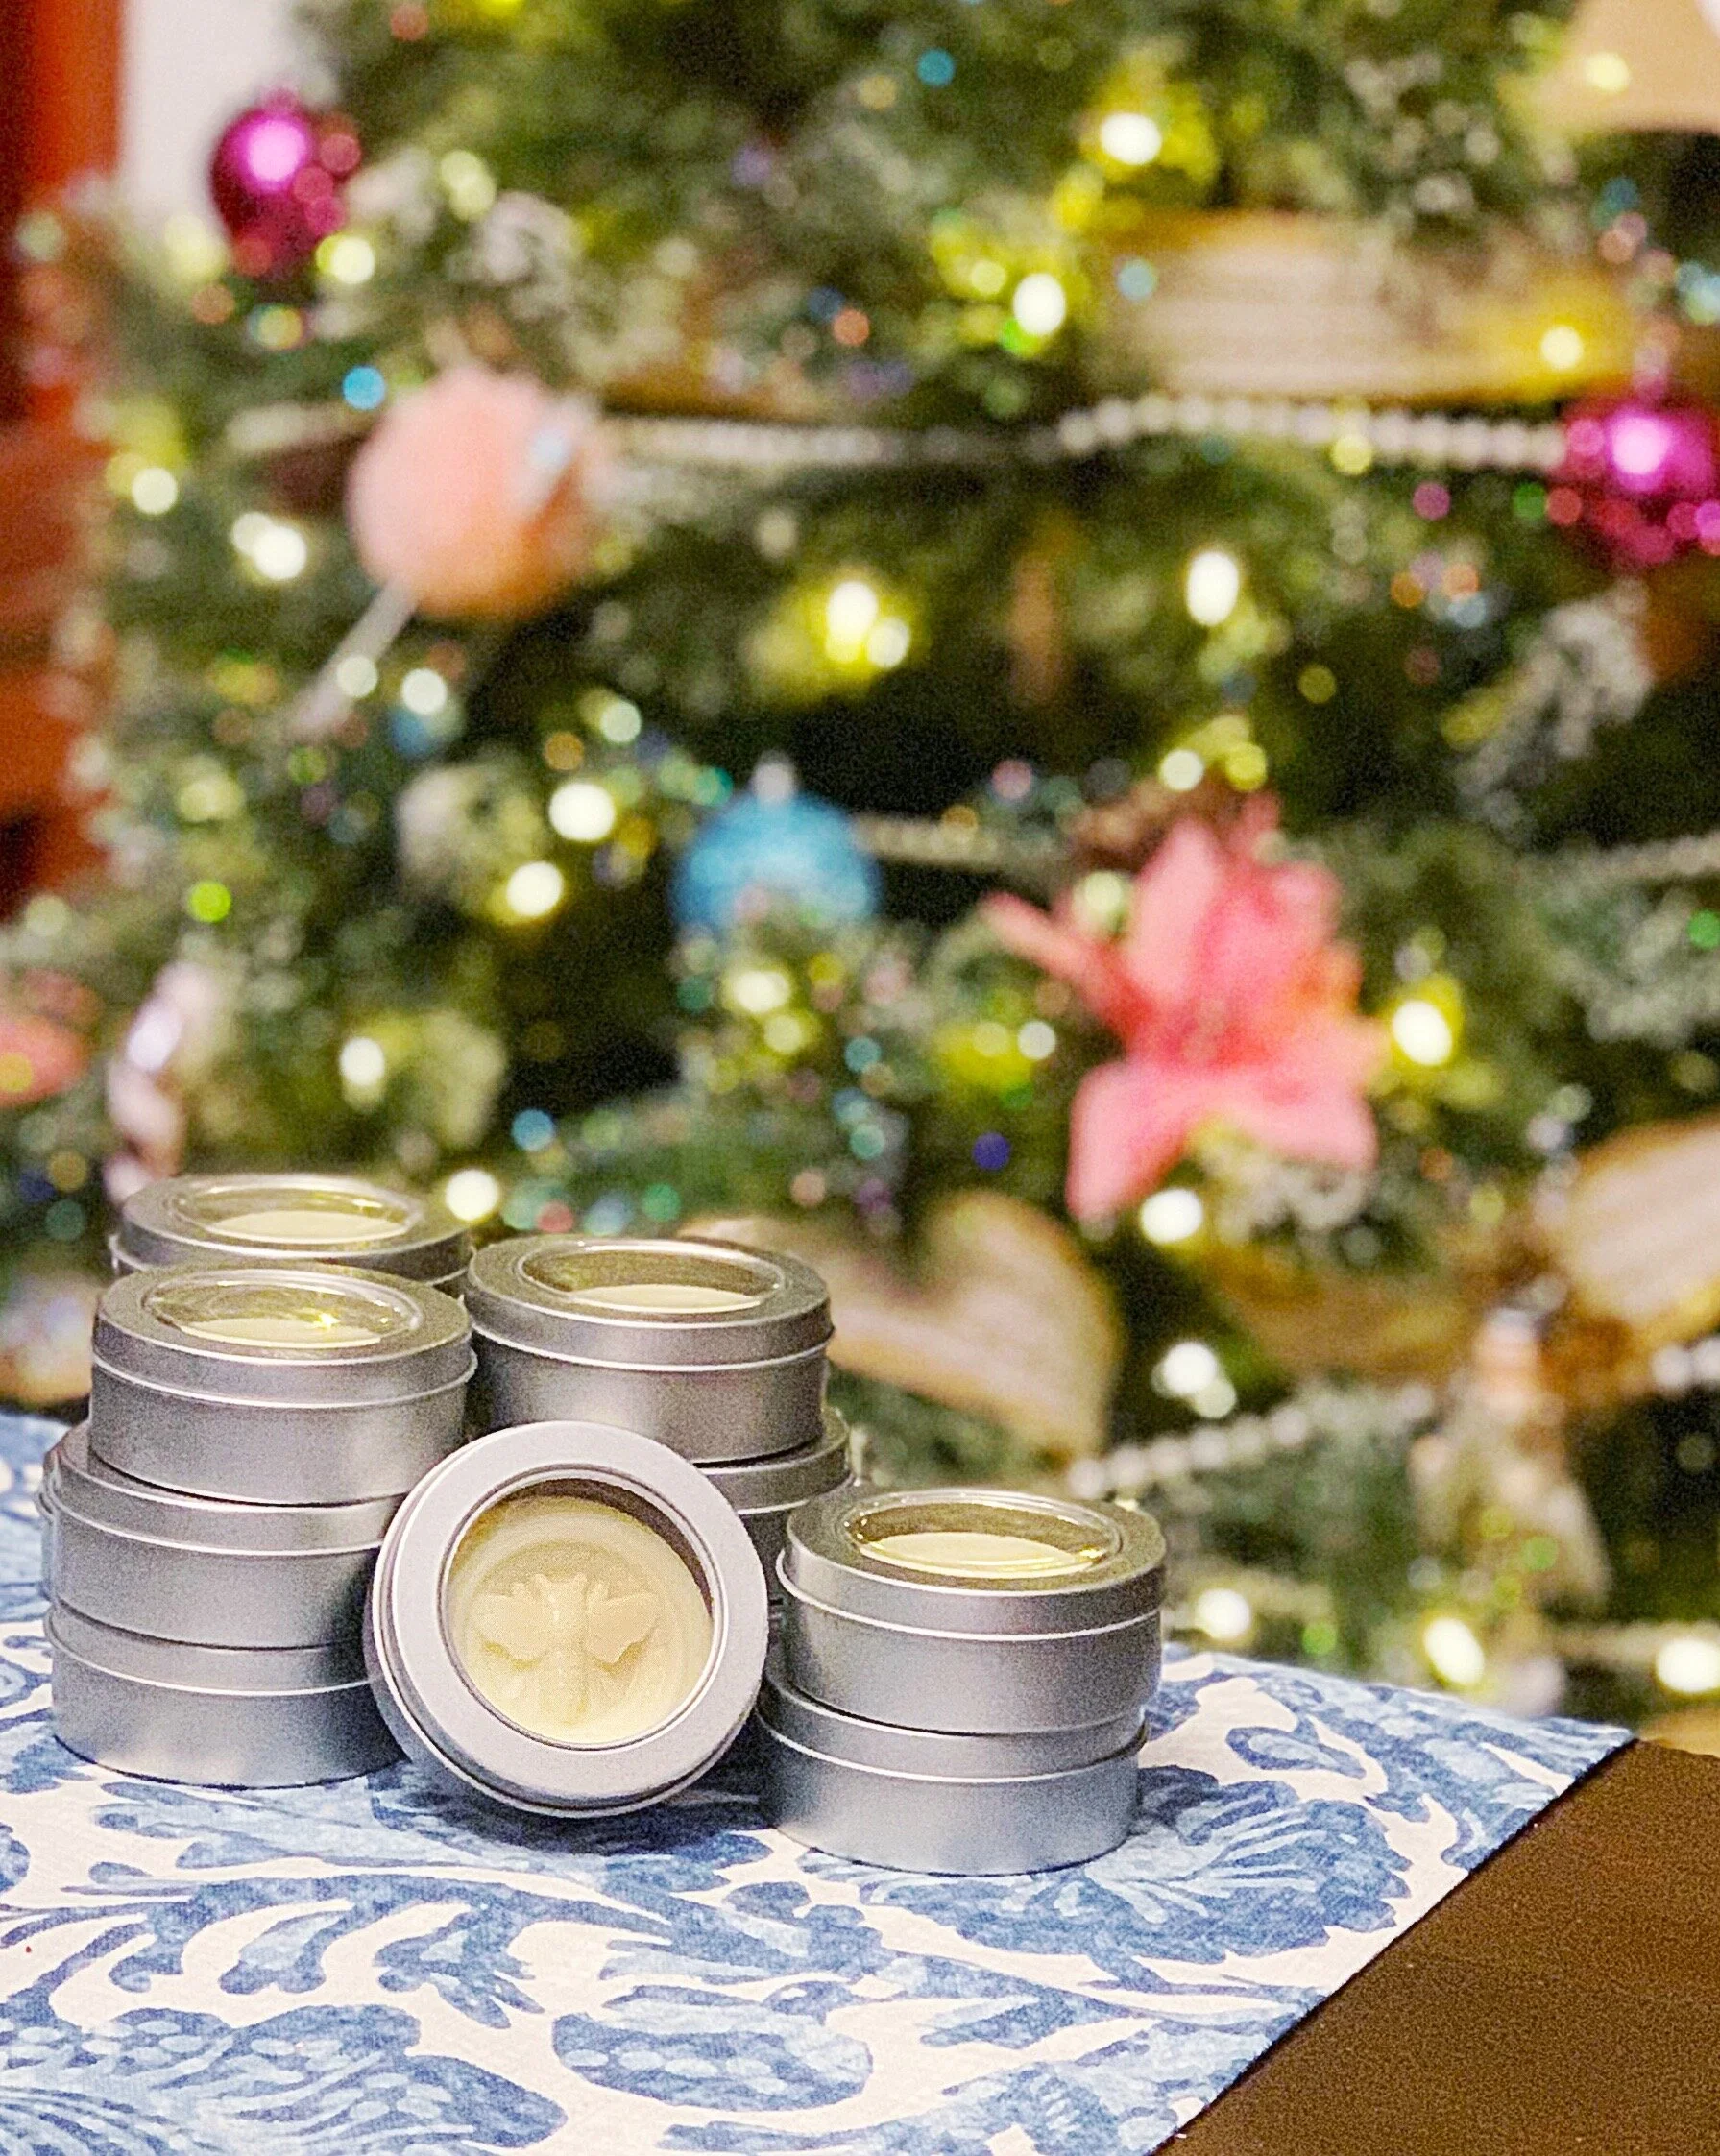
Adding to the professional look are inexpensive tins I ordered to house them. I knew I needed decent packaging so people could carry them around in their bags, and tissue paper wouldn’t suffice because the oil would definitely leak through, so finding the right container was important. These containers were an obvious solution and I found them in the perfect size for my molds (in retrospect, I should have worked backwards instead of lucking out, but I’m a Gemini, so you get what you get).

Supplies I Used:

Disclaimer: Yeah, these are referral links from Amazon, so I’ll get a kickback if you actually buy something from them. Can’t blame a girl for trying.

These are going in cute little gift boxes I found, along with hot chocolate bombs (I’ll regale you with that woeful tale in another post), but to be honest, I couldn’t be happier. Buying these things on their own were out of my budget because I really hate going into debt over Christmas, especially when you can make things like I can, so it was nice to find simple, make-at-home solutions.

I suppose I should get back to finishing the… *counts on fingers*… six projects I have left to literally wrap up before the holidays, half of which aren’t even started, and oh by the way, I’m moving out of and selling a house during a pandemic and before 1/1/21, so someone send me like three bottles of eggnog before I snap.