[FINISHED] Hot Chocolate Bombs

ACS_0326.JPG

I’d like to welcome you to my personal Odyssey, a journey on which I hope to never again embark.

Hot chocolate bombs are all the rage this year (in fact, a friend of mine referred to them as the Tickle Me Elmo of 2020). I’m not sure where it started, but I blame Pinterest and Instagram “influencers” who needed something weird to take pictures of the the holidays. I make fun of that stuff… and I’m also a sucker for it. The same way I work in marketing and am attracted to end cap displays in Target like a moth to a flame. I know a winner when I see it.

It goes without saying, then, that I decided to torture myself with making 20+ (yikes) of these for Christmas gifts.

My process was a bit trial and error because I couldn’t find just one tutorial that worked the way I wanted it to. My final product ended up being a mashup of several blogs and still isn’t perfect, but I’m not entirely mad with the results.

If you’re interested in trying these for yourself, here are my tips:

  • The double boiler is your friend. All these recipes are like, “Oh, just use a microwave. It’s fine.” No. It’s easy to burn and hardens too quickly, especially when making bombs in bulk. Invest in a double boiler and get happy. Mine is from Pampered Chef, back in the days when I didn’t know MLMs were evil, but I’m sure other good quality ones exist. I use it way more than I thought I would and your chocolate WILL NOT BURN as long as the water underneath doesn’t boil off. Seriously. INVEST.

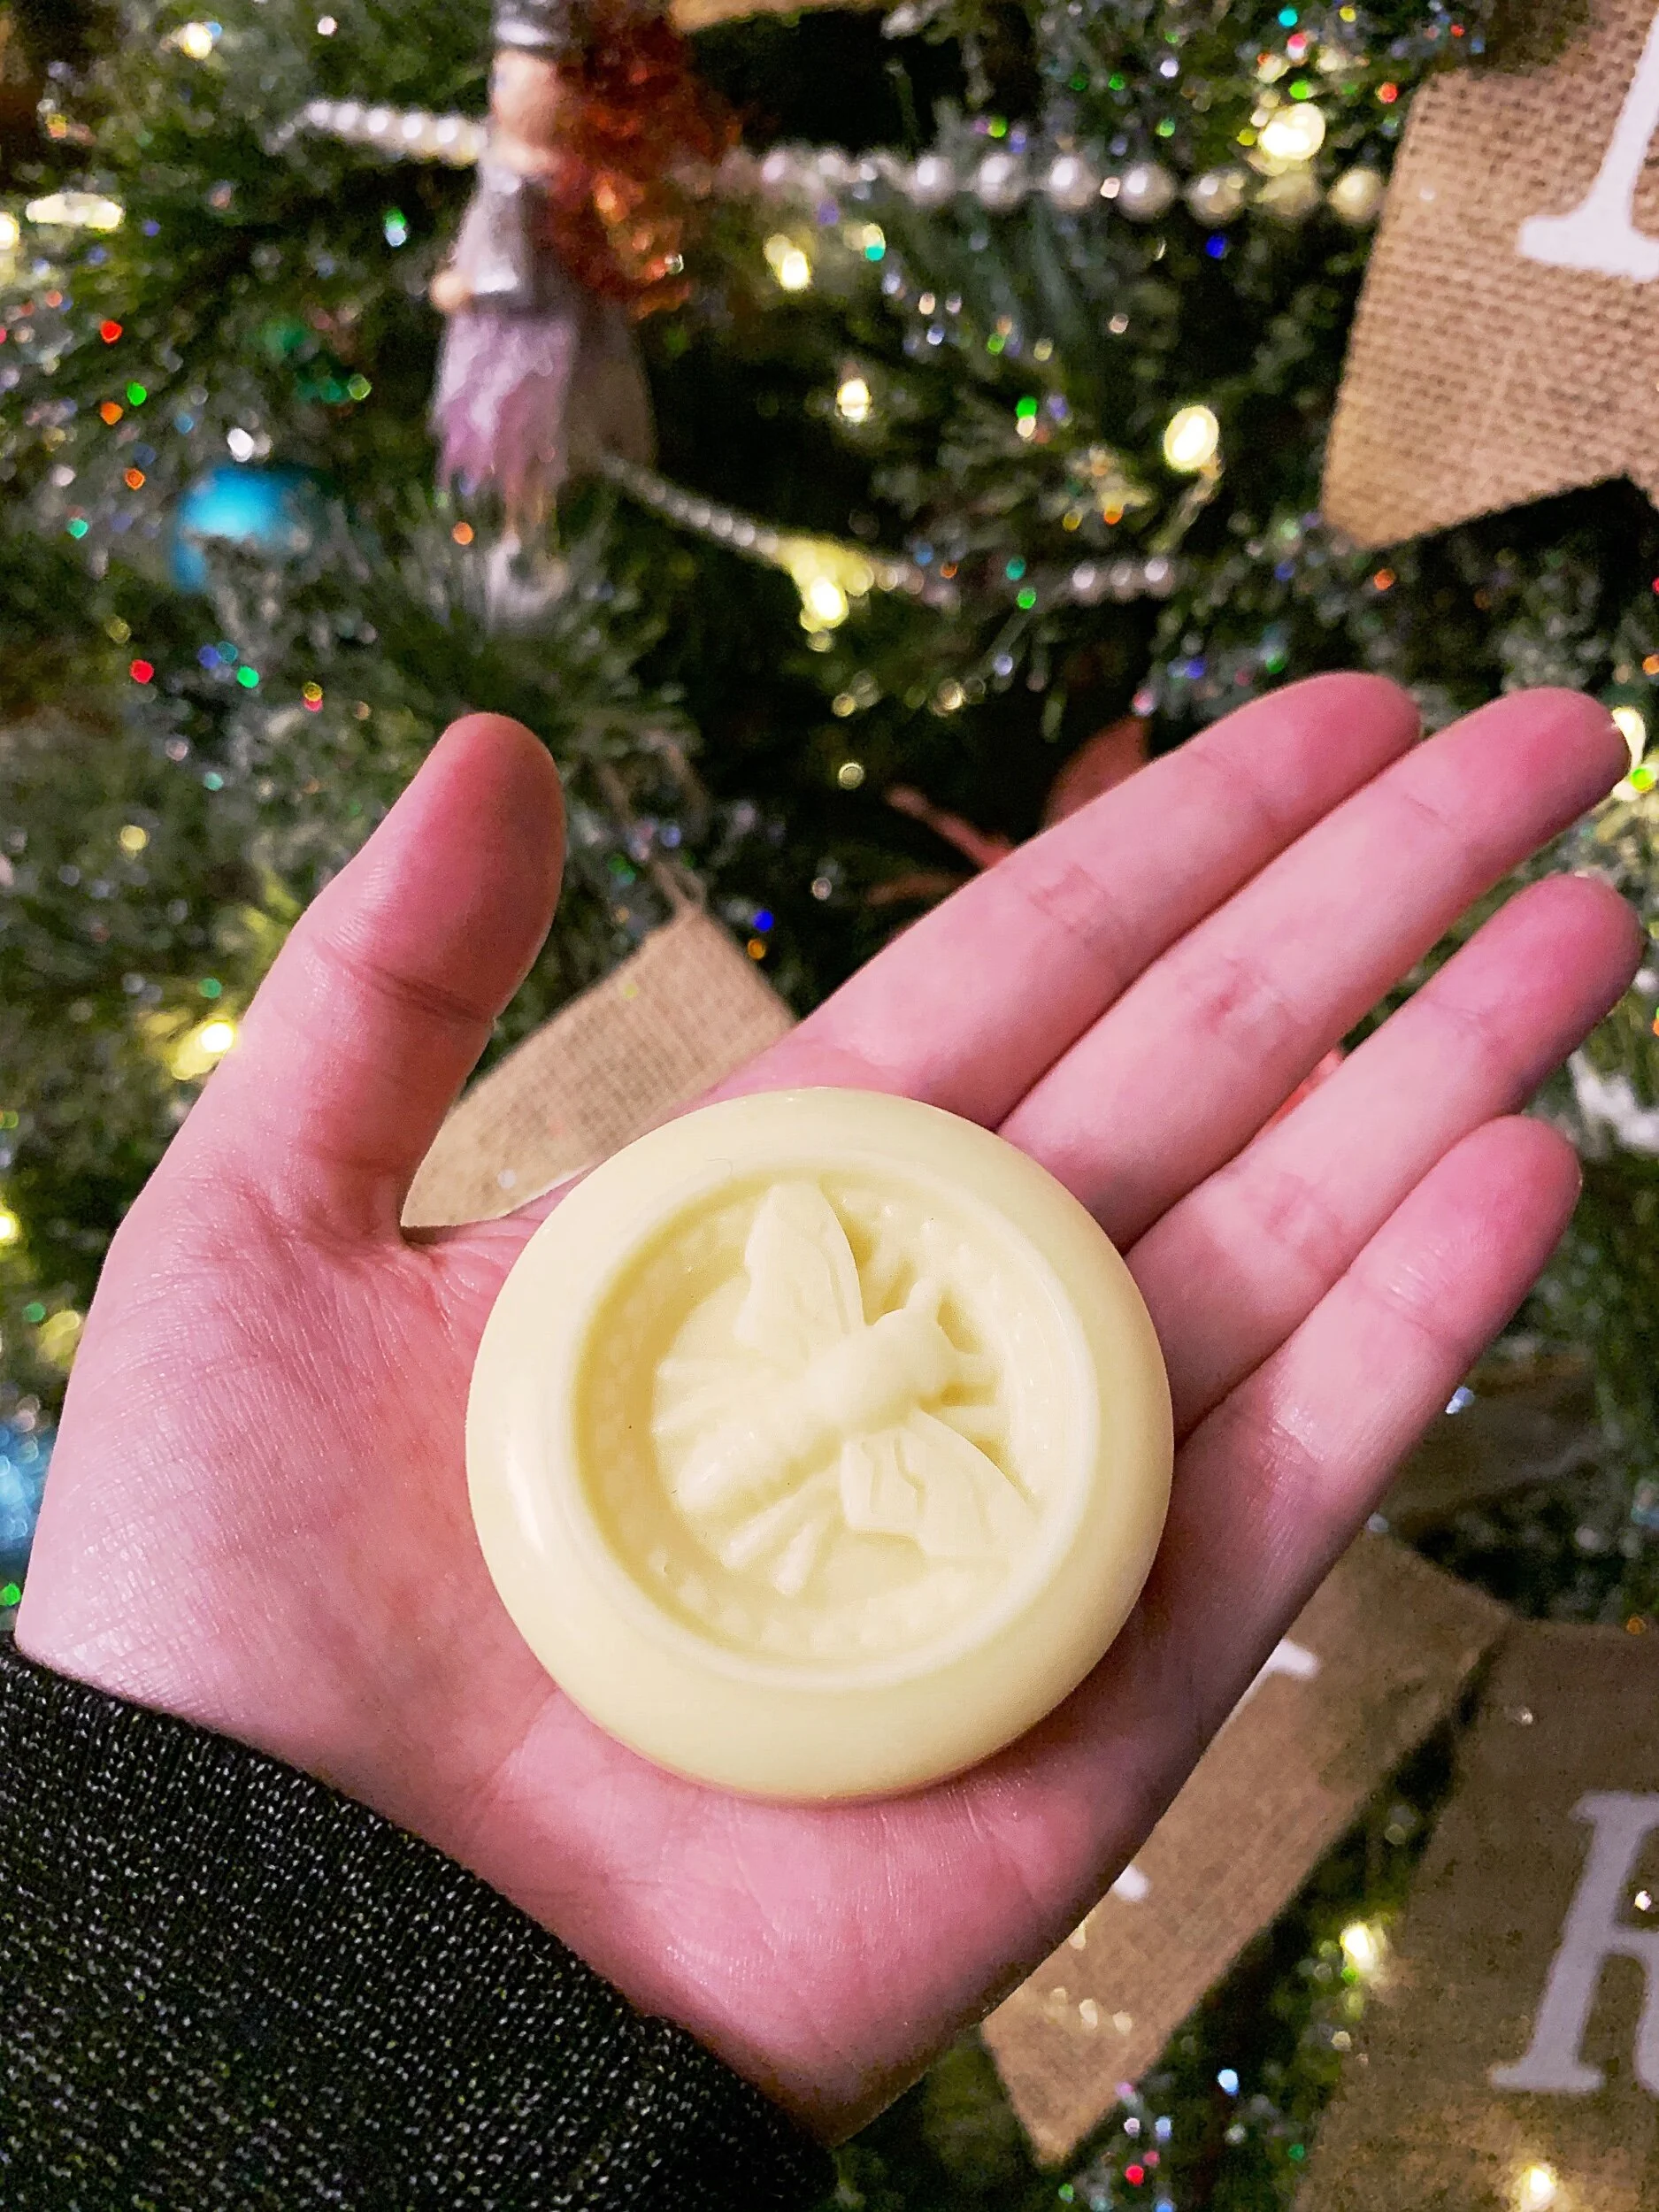
  • Use literally any other color than brown for your molds. The only molds that Amazon had left were brown, which posed problems I’m sure you can easily imagine. I had to add more chocolate to plug a few holes more than once.

  • Always put them in the fridge to cool for at least 30 minutes. It makes popping them out of the silicone super easy.

  • When making your bomb, use cupcake wrappers to hold them so the chocolate doesn’t melt in your hands, causing ugly chocolate fingerprints. Keep them in a festive wrapper to prevent them from rolling around, too (form and function, people!)

  • Placing the edges on the a hot plate to melt the chocolate works really well, but don’t go too hog wild with it or else your bombs will be more oval than round.

  • White chocolate is the actual worst, so just don’t

  • You can fit more hot chocolate mix in these than you think

ACS_0346.JPG

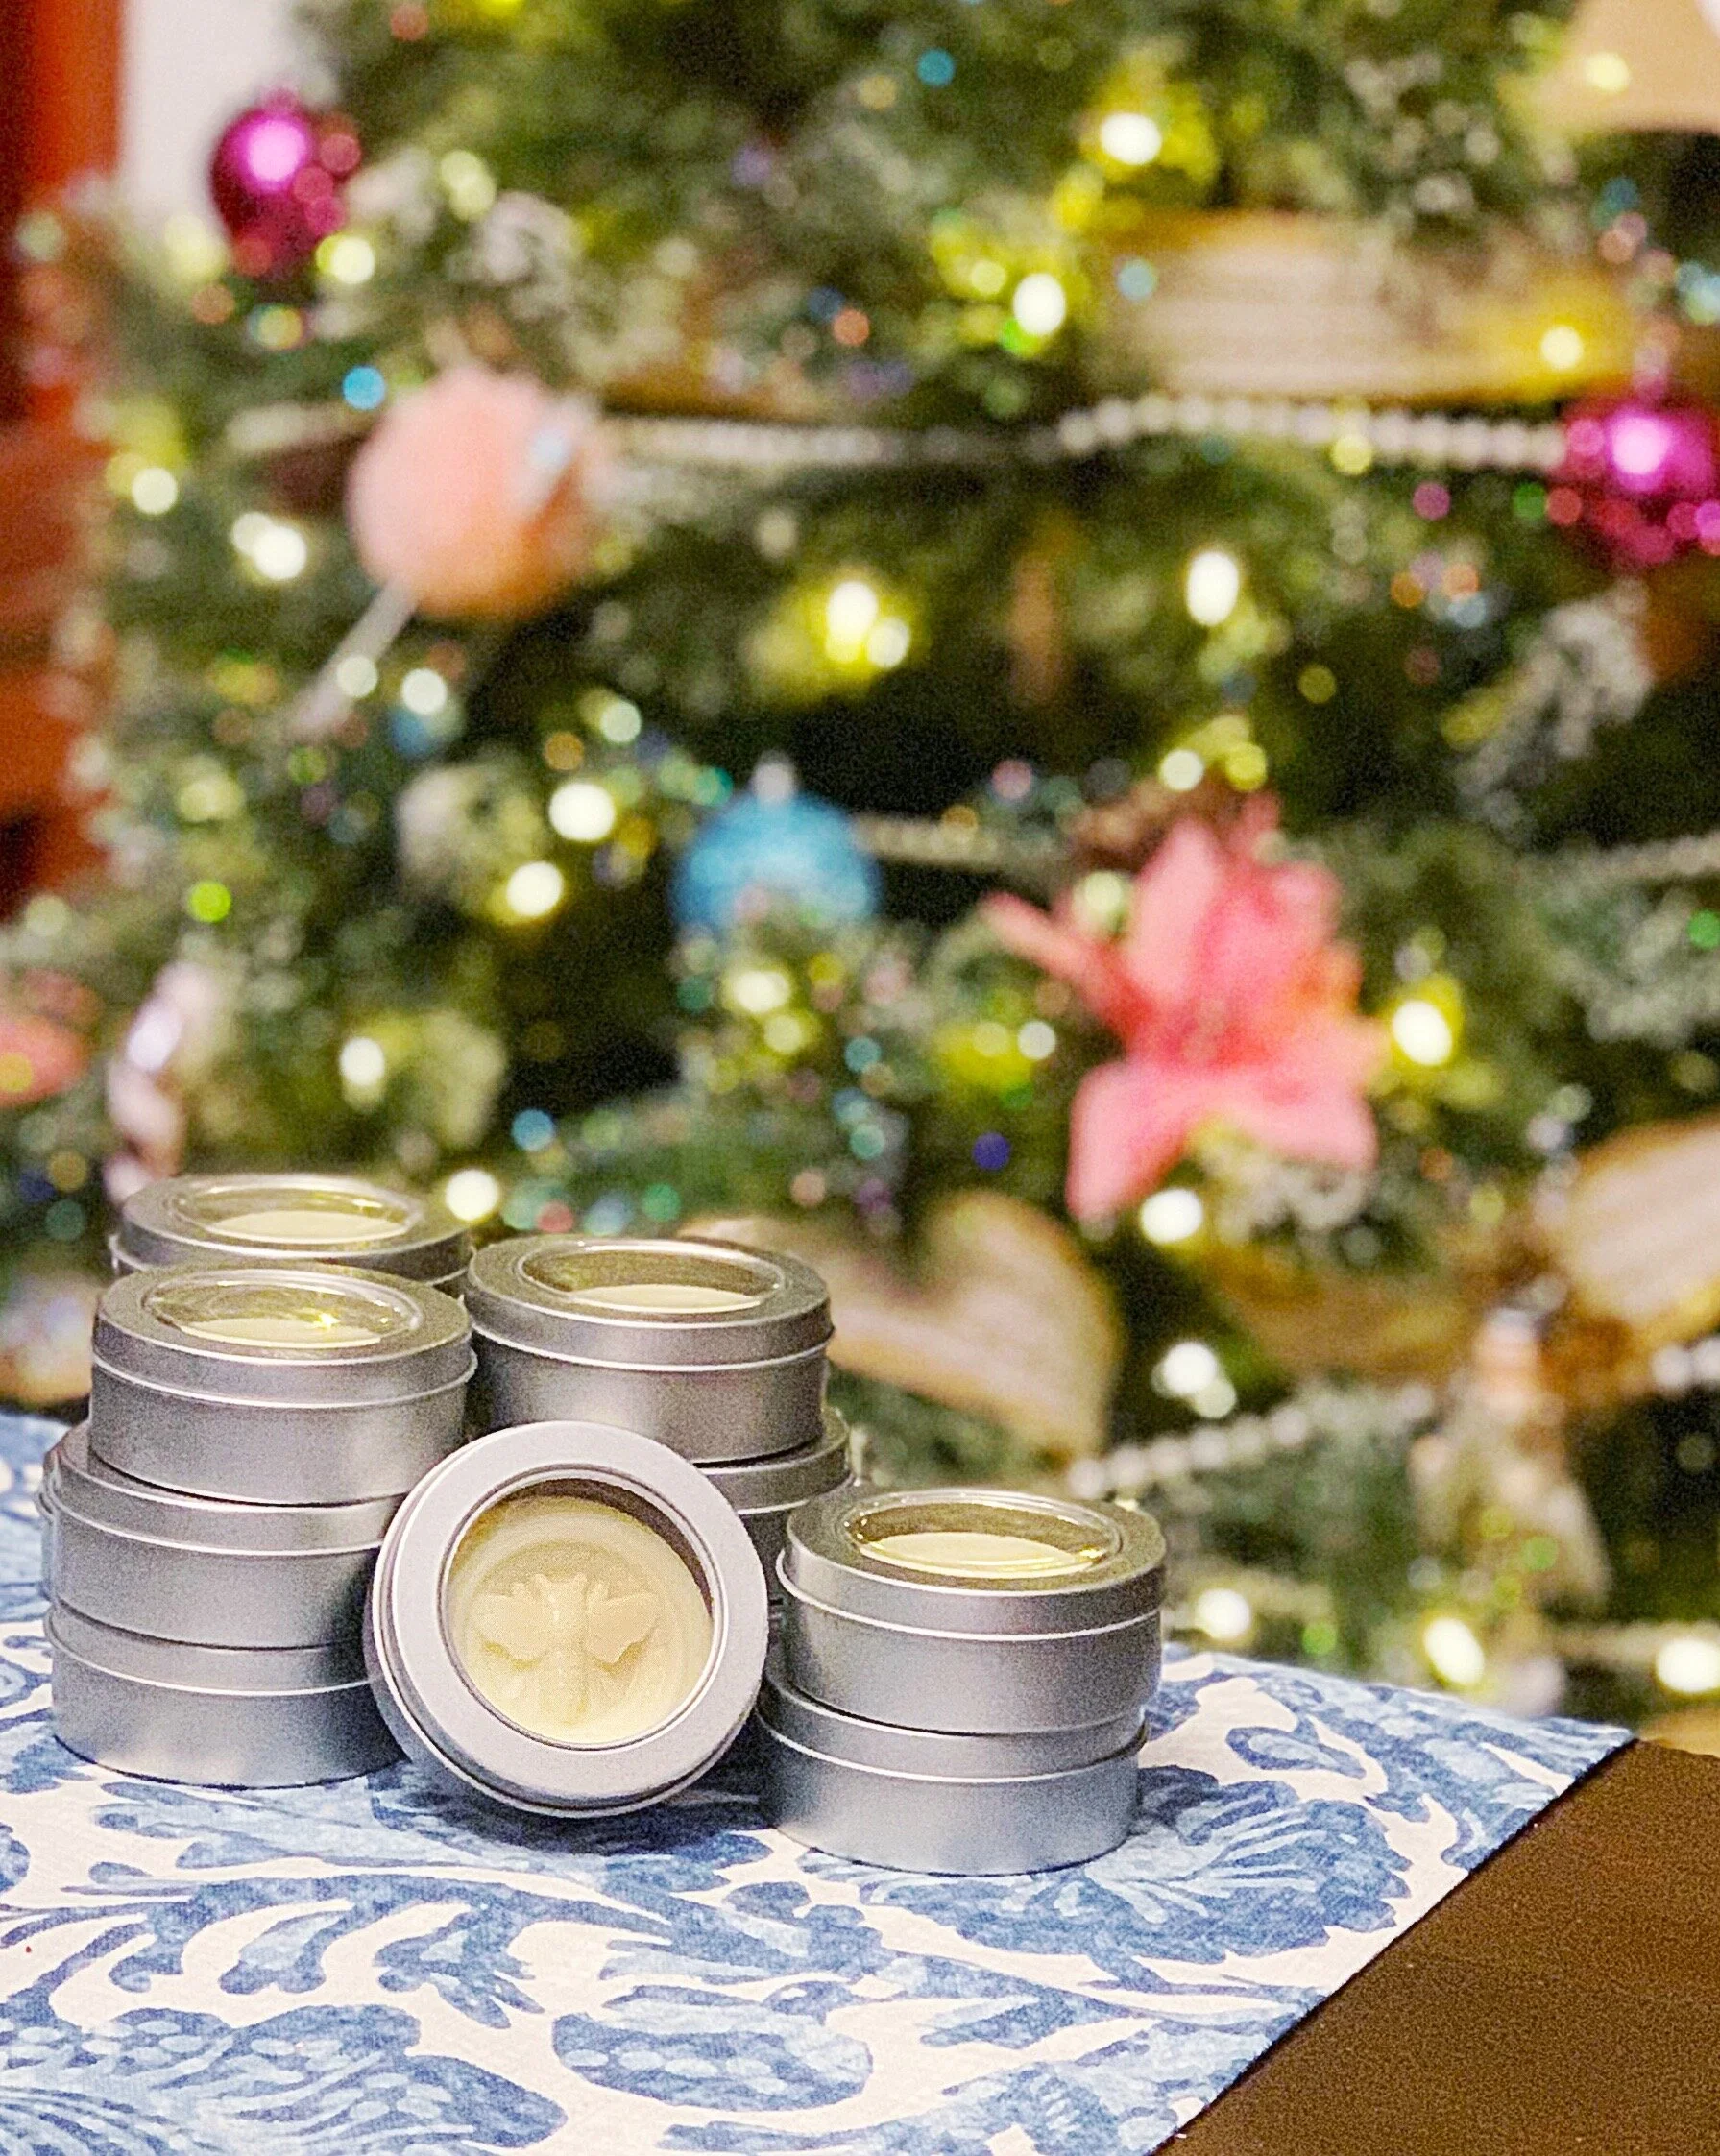
Of course, everyone knows the best part of a gift is the presentation, and I’m the type of person to stress myself about wrapping until I cry and throw my back out. Originally, we were going to display these in cute little boxes I bought off Amazon, but we’d also bought mugs to hand out and I had an entire roll of cellophane left over from gift baskets I’d made, so it just sort of happened that I wrapped each bomb individually and handed them out in a coordinating mug. Tie it off with a Tiffany bow and call it a day - I actually had to tell people I’d made them, which is the biggest compliment.

It also helps that I found cute sprinkles from Simply Sucre on Etsy to make them look more Christmasy. You really need to check out what’s offered there just because - you’ll never go back to store-bought sprinkles again. In fact, these sprinkles make commercial brands look downright ugly. They’re cost-effective for being unique and you can choose how much you want to buy, which I thought was great because they won’t sit in my cabinet forgotten about until next holiday season, at which point they’d get thrown in the trash. I’m really trying to cut down on buying too much of things I don’t need (note: this does not apply to Mill Hill holiday-themed cross stitch kits, so don’t @ me when I share everything I bought over the holidays)

Let me know if you’ve tried to make these and if you had any success. Overall, I found them easy to make, although the decorating didn’t really go well because - and I repeat - white chocolate is not worth it, and I didn’t have the immediate success of “gluing” them together like Pinterest promised (I put chocolate in a pastry bag and piped around the edges and added the sprinkles to ensure they stayed together in transit). Still, I’m happy with them and think they’re a fun holiday treat to make for friends and family.

[FINISHED] Lotion Bars with Beeswax

ACS_0316.jpeg

And now, for something completely different, I bring you: handmade lotion bars.

It’s no secret that Pinterest will be my undoing, and yet I continue to browse, torturing myself with ideas that’ll never see the light of day. My yarn stash will long outlast my life expectancy and my cross stitch collection is headed in that direction, as well. My only hope is that someone else can do something with it once Scott dumps me in front of Shady Pines in 30 years.

That’s how I stumbled on a recipe for three-ingredient lotion bars and had the novel idea of making them for Christmas gifts that I can give to our families and my girlfriends. The recipe seemed simple enough and, once distributed across multiple bars for multiple people, a cost-effective way to show someone I care without getting voluntold to knit something.

As usual, I was right. The easy-to-find ingredients are equal parts beeswax, shea butter, and coconut oil (for 12 bars in the molds I used, I needed one cup each).

The recipe (see the “3 Ingredient Lotion Bar” here) recommended putting the filled molds in the fridge if you want them to harden quickly, but I didn’t really care, so I initially ignored this step. While that’s not the worst thing you can do, I don’t recommend skipping this step, and not because it makes the bars cool quickly. I found that, in general, they hardened more evenly and were easier to pop out of the molds than letting them dry all day outside the fridge. I also feel like there’s a less oily feel and they’re more waxy. They’re shinier, too, and overall look more professional if you put them in the fridge to cool.

ACS_0315.jpeg

Adding to the professional look are inexpensive tins I ordered to house them. I knew I needed decent packaging so people could carry them around in their bags, and tissue paper wouldn’t suffice because the oil would definitely leak through, so finding the right container was important. These containers were an obvious solution and I found them in the perfect size for my molds (in retrospect, I should have worked backwards instead of lucking out, but I’m a Gemini, so you get what you get).

Supplies I Used:

Disclaimer: Yeah, these are referral links from Amazon, so I’ll get a kickback if you actually buy something from them. Can’t blame a girl for trying.

These are going in cute little gift boxes I found, along with hot chocolate bombs (I’ll regale you with that woeful tale in another post), but to be honest, I couldn’t be happier. Buying these things on their own were out of my budget because I really hate going into debt over Christmas, especially when you can make things like I can, so it was nice to find simple, make-at-home solutions.

I suppose I should get back to finishing the… *counts on fingers*… six projects I have left to literally wrap up before the holidays, half of which aren’t even started, and oh by the way, I’m moving out of and selling a house during a pandemic and before 1/1/21, so someone send me like three bottles of eggnog before I snap.

[FINISHED] Crochet Turkey Baby Hat

Facetune_22-11-2020-14-44-02.jpg

Hello, and welcome to “the cutest baby hat I’ve made in years.”

In all seriousness, it’s been a hot minute since I’ve made any baby stuff, specifically photo props. I detest the things because they’re so fiddly to make and remind me of my hatred for amigurumi and other toys (which, to be fair, I still make because I want the toys, not because I enjoy the process).

But when my bestie sent me a photo of turkey hat inspiration that she wanted for her son, I couldn’t resist.

I didn’t use a pattern, so it’s based entirely off the photo and required fiddling around with shapes until I figured out what looked right. Thankfully, I’ve made enough of these props in the past that it didn’t take much to figure it out, and I think the entire hat took just under three hours to whip up - including the dreaded tassels (I despise tassels).

The original hat was very obviously made out of Lion Brand Homespun (or something like it), so I made sure to migrate what was left of my Homespun collection to the new house when I moved my supplies. Like tassels, I’m also not a fan of Homespun, and my skein was low enough that I had to untangle more than a few knots from what’s already not my favorite yarn. Imagine my glee.

BUT, as always, it was worth it in the end. These hats are always adorable when they come together and, all things considered, it’s over and done with quickly because, ya know, baby heads. I’d probably actually sob if an adult asked for one of these. Spoiler: Scott has asked for one of these.

There’s a big chance I might not blog again before the upcoming holiday, so with that, I’ll wish you all a happy and - more importantly - safe Thanksgiving. I hope all my readers are choosing to celebrate with only their own households considering COVID-19 is running rampant across all states. I suppose this should be my daily reminder that even if covid is “only” as deadly as the flu, it’s far more contagious, the general death rate this year is statistically higher than previous years (meaning more people are dying from it than we know), and its long-term effects can last a lifetime (google POTS). I’m not going to keep my blog a safe space from covid because it’s a matter of life and death and, frankly, if you don’t view it that way, I don’t want you in my circle. I simply care about my fellow fiber artists and want you all to take care of yourselves.

Except any rat-licking conspiracy theorists. Y’all can go balls out with the holiday. Just enjoy your ventilator away from the general public.

[FINISHED] Starflake

122118824_10100283668997522_1704130794307971198_n.jpg

You may have noticed that the frequency of my posts (which was already lacking) has taken a nose dive for the worst. The holiday season is upon us, meaning most of what I’m knitting, crocheting, cross-stitching, or even painting (shhh, spoiler alert) are for gifts. The good news is that I’ll slobber you Christmas week with posts about everything I’ve been up to since August, but for now, you’ll have to settle for Stephen West MKALs.

Like this Starflake I finished in September. Starflake was last year’s Westknits MKAL, but I didn’t cast mine on until March after my last in-person yarn shop visit to Yarnphoria in Philadelphia. My go-to shop is Loop, but I wanted to check out a new place while we were brewery and gallery hopping, so I googled this place and was immediately in love. The owner also has an adorable little dog that clearly gets zero pets (and by zero pets, I mean everyone loves her and she gets more attention than the yarn).

Because I knew we’d be stopping by, I spent the car ride down looking for patterns so I knew exactly what yarn I wanted to add to my stash - mostly so it didn’t end up in my stash and instead ended up in the project itself. I’m not sure I even knew Starflake was a Stephen West pattern when it popped up in my search results, but as soon as I saw it, I knew I needed to have it.

It took me forever to pick out what yarn I wanted to use because there were approximately 4,875 colorway combinations I was attracted to, but I eventually more-than-settled on Three Irish Girls Cavan Fingering in Day Glo and Black Trillium Fibre Studio Vale in Moonshadow (it’s sparkly!)

122194427_10100283669017482_6952286486680913955_n (1).jpg

In typical WestKnits fashion, this thing is huge, making it super warm for when we sit outside at breweries while we can (before another lockdown). Additionally, it’s plain old freaking gorgeous. We hit up the downtown holiday market yesterday (masks in tow, of course) and I got complimented on it twice in 30 minutes. I’ve also worn it multiple times to one of our new favorite breweries (McCall Collective Brewing), and I think they’ve started recognizing me by my yarn bag #alwaysbeknitting

As with any Stephen West pattern, it’s a labor of love. You’ve got nearly 700 stitches on your circs by the last row (I’m in for a treat with his current MKAL, which has over 900 by the end), so it’s a LOT of knitting, but as always, the pattern is clear and he provides plenty of tutorial videos in case you forget what you’re doing. I can’t recommend it enough and am thinking about casting on this shawl’s big sister - the Starflanket - in the new year.

Project Details

Pattern: Starflake by Stephen West

Yarn: Three Irish Girls Cavan Fingering in Day Glo and Black Trillium Fibre Studio Vale in Moonshadow

Speaking of Stephen West, let’s all have a moment of silence for my first ever WestKnits completed project, Exploration Station, that succumbed to moths in my old house and met a swift end in the trash while moving more junk a couple weekends ago. I was literally in tears.

exploration-station-lo_medium2.jpg

It goes without saying that my new craft room will have so many cedar blocks and lavender sachets that I’m going to start smelling like a twee German fairytale forest. If anyone has other recommendations for how to keep the moths at bay, let me know. I lost so much stash and other beloved projects to moths and I have no idea how they even got into my house (and the traps only work so much). I’m sad that my love of natural hand-dyed fibers essentially became money down the drain.

[FINISHED] Infinite Hope Shawl

AB5A6A42-B6DB-494A-85FC-7B17E2D3AE74.jpeg

It’s about that time where I need to knit on projects that are enjoyable, but easy to figure out and memorize. Work is insanely busy, people (in general) are frustrating, and I feel like I’m living in one of those zombie movies where we make fun of people who don’t listen to experts, except this is real life and we’re not listening to the experts.

Long story short: working full-time and moving in with your boyfriend during a pandemic is nothing short of stellar (more on that later).

43AFA22D-F74F-4B88-BEAE-84E398CD9037.jpeg

The good news is that my friend, Erin, needed someone to test-knit her new crescent shawl pattern at the same time I needed a distraction from people not wearing masks and hanging out at bars like we’re ignoring the Spanish Influenza during Mardi Gras (I need you all to stop doing that for everyone’s sake).

She told me it would be easy and she wasn’t wrong. I grabbed some deep stash that’s been dying in my craft room for at least four years and headed to the lake, along with my latest thriller novel, and went to town. What you see here is the final result!

Details:

Since finishing this up (and like I mentioned earlier), I’ve been busier at work than I have been in months. I think the ability to work from home has allowed people to hyper-focus on their oft-neglected marketing operations, so every day is a new adventure in hunting down processes and rebuilding boolean logic. I can’t complain because it helps make these monotonous days of venturing nowhere move quickly, but I miss the days where I could break up my working hours with brewery visits, library runs, and potluck parties.

It’s also that time of year where I’m prepping gifts that I’ll be making for the holidays, so there’s a solid chance I’ll be disappearing soon while I knit or cross-stitch my top-secret projects. Probably not, though, because I’m a selfish knitter and can always find time to sneak in a shawl for myself.

Let me know if you’ve starting your winter crafting and if you think your plans are actually attainable (because mine absolutely are not).

In the meantime, I’m also…

Watching: Little Fires Everywhere (finished) and The Umbrella Academy

Reading: Hood Feminism: Notes from the Women That a Movement Forgot

Screaming: Into a paper bag

Download on Ravelry